
So basically the other day I was browsing through my never ending Pintrest feed when I saw these nails, I loved them and thought as I had a little bit of time on my hands I would do these nails. They are relativity easy to do so I thought I would give it ago and see how they turned out. I was very happy with the result so I thought I would put a little post together to show you how I made them. It is simple with only a few steps.

What I used to create this look:
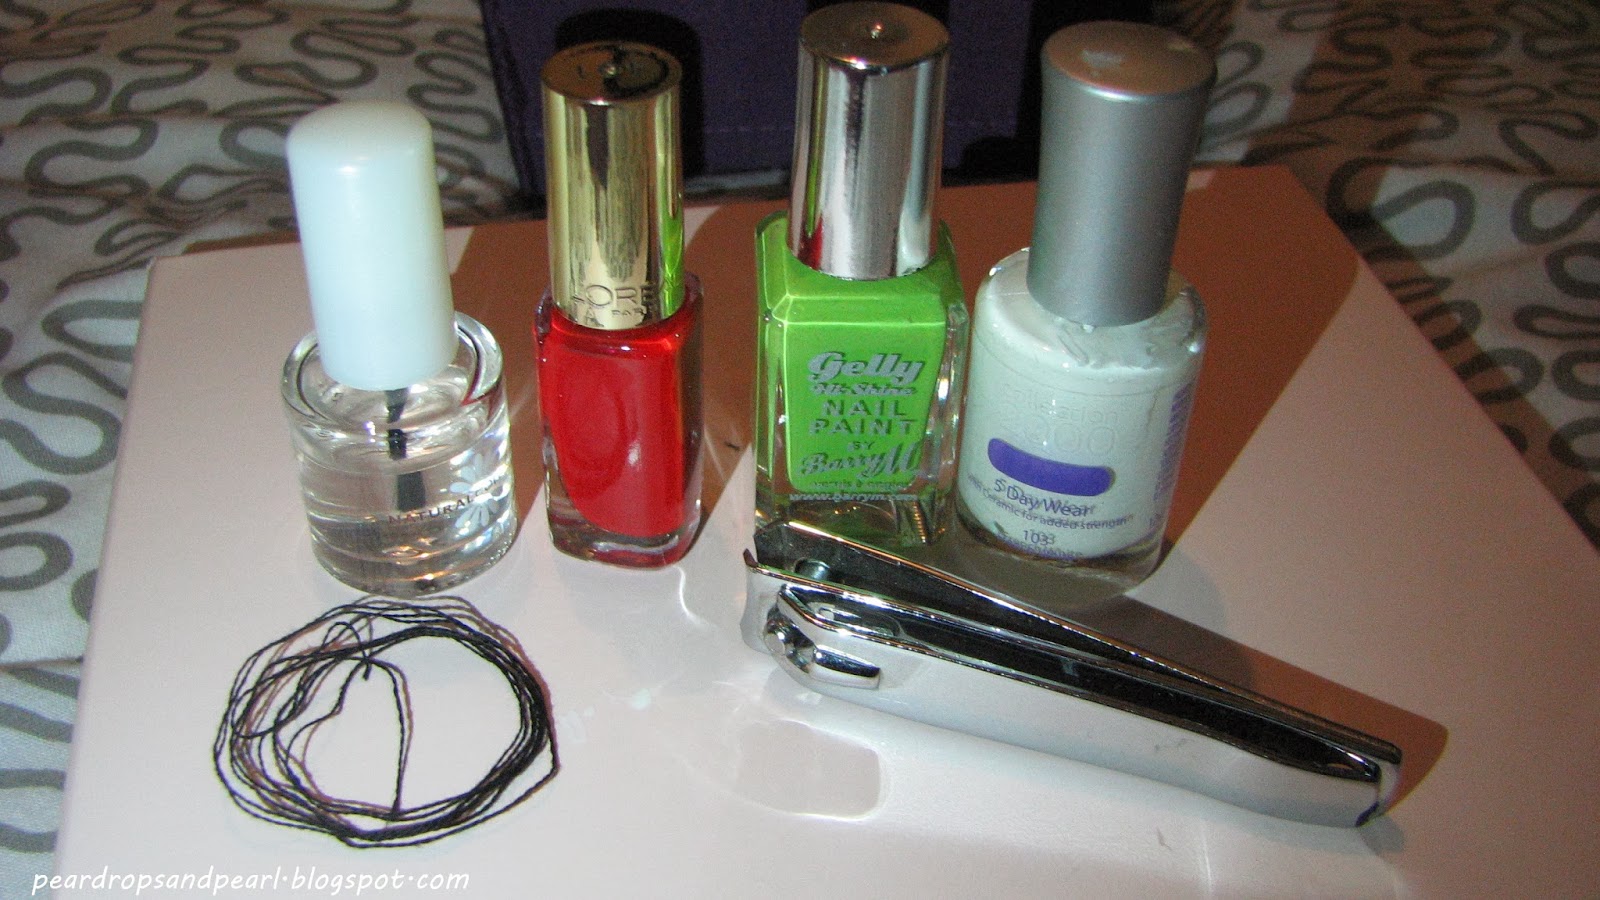
Thin black cotton
Natural collection Clear nail paint
Collection (2000) White nail polish
L'Oreal Colour Riche in shade: Rouge Pin Up (red)
Barry M Gelly Hi-Shine in shade: Key Lime (green)
Nail Clippers
A nail are dotter
Step one : This step is optional but I applied the Natural collection clear polish to all of my nails as a base coat.
Step two : Next I painted my nails white with the collection 2000 white nail polish, I had to do a couple of coats of this because I wanted to ensure that my nails were 100% white.
Step 3 : Here comes the fiddly part, I cut my black cotton into about 2 inch strips just to make it a little easier to apply. I then continued nail by nail starting to apply the cotton to do this, I painted a nail applied the cotton, don't worry if the cotton frays a little as we can sort this out later. Paint the nail with clear varnish, and then place the cotton into the prefered position on the nail, the wavier it is the cooler it looks I think. When you have placed the cotton onto the nail ensure that its all stuck into the clear varnish before moving onto the next one. Cut any over hang off with the nail clippers or scissors.
Step 4 : Then I painted another coat of clear nail polish over to ensure that the cotton was stuck.
Step 5 : Then get your coloured nail polishes they don't have to be red and green they can be any colour, but you will want to take a scrap piece of paper or something, and place a blob of each colour onto the paper.
Step 6 : You will then want to get your dotting tool, If you don't have a dotting tool you can use a bobbi pin and just straighten it out, it will work the same. You will then want to start putting your lights onto the cotton, in any random order.
Step 7 : Put on a topcoat of your choice and there you have it, your festive nails.
Tips
Make sure you leave plenty of time between nail polish coats to ensure that they are completly dry,
If you don't have black cotton use a different colour and create more colourful lights


Thank you so much for reading, if any of you recreated this look and have instagram or twitter post a picture with the #peardropsandpearl
Lots of Love and Merry Christmas

No comments:
Post a Comment